NOTE: The technique describe on this page for calibrating images exhibiting significant amplifier glow has been implemented as an AstroArt 2.0 plug-in by Scott Berfield. You can download the plug-in from his page: http://www.berfield.com/plugin.html.
Download plugin for AstroArt 3.0.
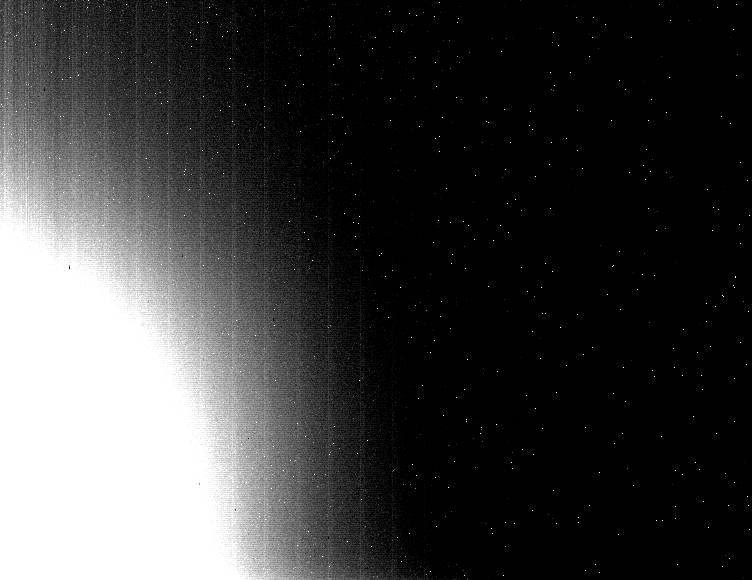
Take several darks with guide-window open. Average them. Call it darkavg.fit. Here's what I get from 60 six-minute darks in Hi-Res Selfguide mode with 1-second guide exposures:
Notice that there are three effects: (1) amplifier glow, (2) hot pixels, and (3) readout signal (which creates the vertical stripes). In traditional processing, one takes bias frames to separate the readout signal from the rest. If one takes bias frames then the thermal effects (amp glow and hot pixels) can be scaled either manually or automatically by the software.
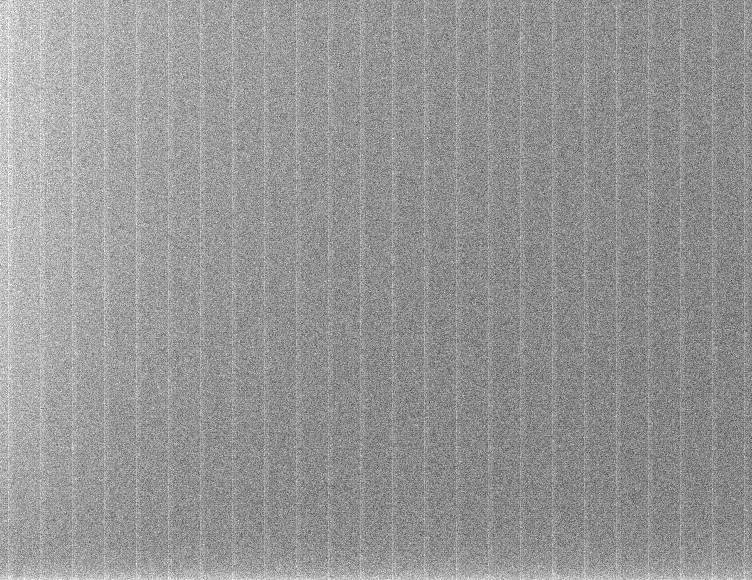
Since we want to do scaling, we take several bias frames. Average them. Call it biasavg.fit. Here's what I get from 40 bias frames:
Now we can subtract the bias from the dark and scale the result as needed to match a set of light frames. However, the scaling factor one would calculate by matching the hot pixels is not the same as the scaling one would calculate by matching the amplifier glow. We need to separate these effects too. One way to do this is to take another set of darks with the guide window closed (so that the amplifier is off). I haven't had a chance to go that route. But it is easy to separate the two effects just using "pixel math" tools. Here's what to do:
Use pixel math: darkavg.fit + 100 - bias.fit (Adding 100 makes sure there are no negative numbers.) Make two copies. Call them temp1.fit and temp2.fit
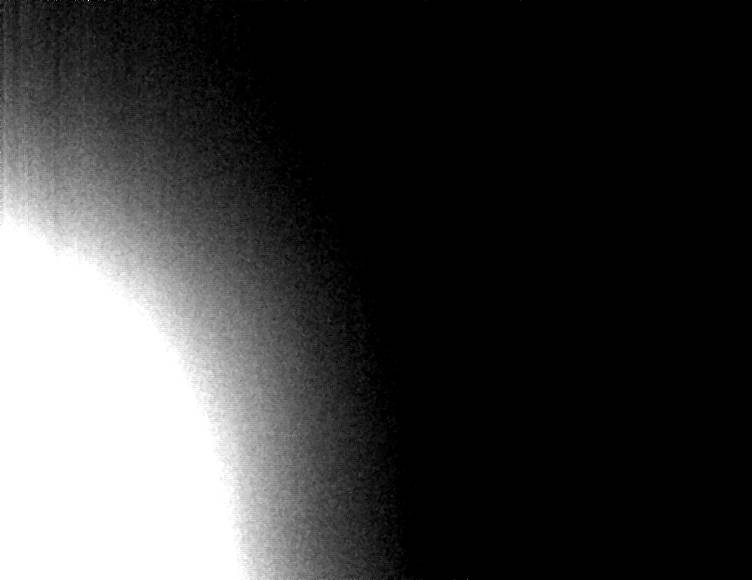
Remove hot pixels from temp1.fit using a 3x3 median filter. Call the result dark_amp100.fit. Here's what I get:
Remove amplifier glow from temp2.fit using pixel math: temp2.fit + 100 - dark_amp100.fit. Call the result dark_hotpx100.fit Here's what I get:
Now you can delete (maybe after first copying to CD or something) the raw bias and dark frames. In fact, all you need to keep are three files:
Using dark_amp100.fit:
Using dark_hotpx100.fit:
Spend a night taking light frames of your favorite target. Average them (no alignment). Using this averaged frame, compute glow_diff and hotpix_diff the same way as above. Call these numbers "light_glow_diff" and "light_hotpx_diff". Compute mixture values:
Open the three saved images: biasavg.fit, dark_amp100.fit, dark_hotpx100.fit. Using pixel math:
Finally, calibrate your images using biasavg.fit, darkfixed.fit, and any flat frames that you took.
An Example:
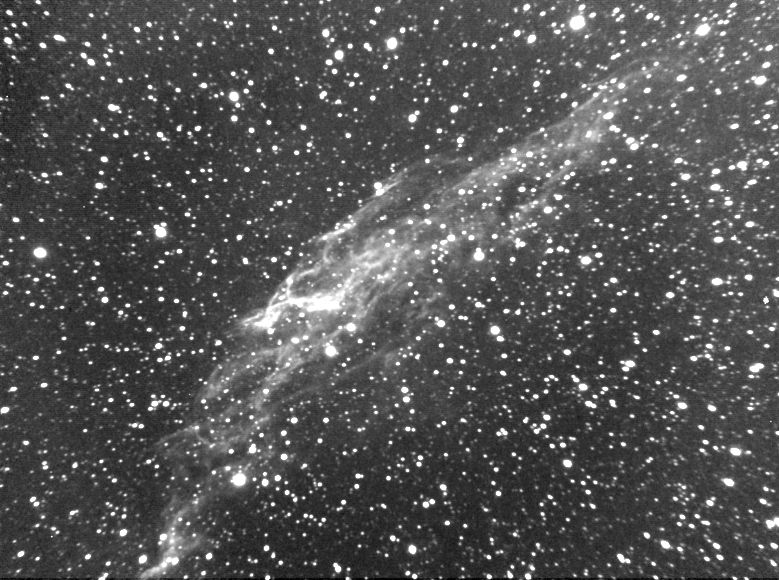
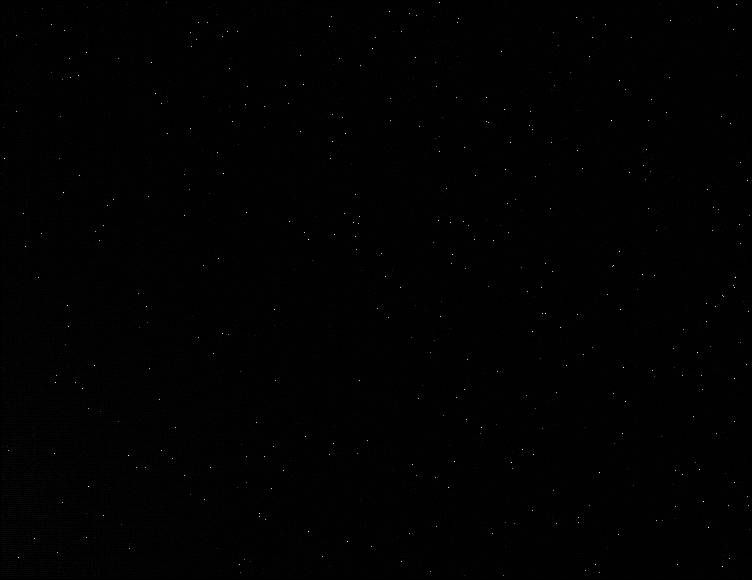
Last night I took 30 six-minute images of the Veil. Here's the uncalibrated and unaligned stack:
Note the amplifier glow and the hot pixels (and please don't tell me about the field curvature problems).
The numbers I got are as follows:
In the average light frame:
glow corner = 2780
- opp corner = 2679
------------------
light_glow_diff = 101
hot pixel peak = 2783
- median of nbrs = 2699
---------------------
light_hotpx_diff = 84
In the dark_amp100.fit:
glow corner = 223
- opp corner = 103
-----------------
dark_glow_diff = 120
In the dark_hotpx100.fit:
hot pixel peak = 267
- median of nbrs = 100
---------------------
light_hotpx_diff = 167
glow_ratio = 101/120 = 84.2 %
hotpx_ratio= 84/167 = 50.3 %
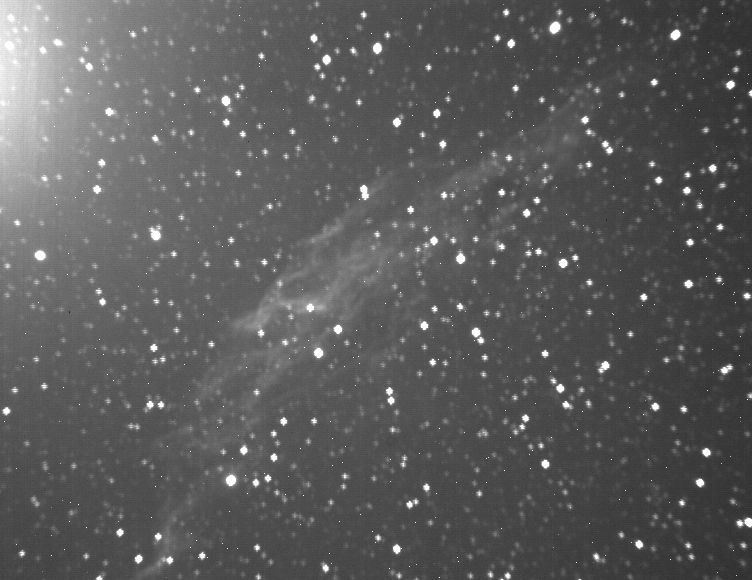
Using these ratios to recombine the dark frames and the bias frame gave a fixed dark frame that did a very nice job in calibrating---no gradient and no hot pixels. Here's the result: